Welcome! This manual provides crucial instructions for the safe assembly, efficient operation, and proper care of your Coleman Roadtrip Grill. Ensure optimal performance and enjoyment by reading all sections carefully before its initial use.
Important Safety Instructions

Your safety is paramount. Always read this entire manual before assembly, operation, or cleaning. Failure to follow instructions risks property damage, injury, or death. This grill is for outdoor use only; never operate in enclosed spaces like garages or tents due to carbon monoxide hazards. Ensure ample ventilation. Keep children and pets a safe distance away from the grill during use and cooling. Place the grill on a stable, non-combustible surface. Maintain at least three feet clearance from all combustible materials, including walls and vegetation. Before each use, perform a leak test on gas connections with soapy water; never use an open flame. Do not attempt to repair regulator or cylinder valve. Disconnect the propane cylinder when not in use and before cleaning or servicing. Never move a hot grill. Allow all components to cool completely before handling or storage. Use caution when lighting burners, keeping your face and hands clear. Never leave a lit grill unattended. Store propane cylinders outdoors, upright, in a well-ventilated area, away from heat, direct sunlight.
Package Contents
Carefully unpack your Coleman Roadtrip Grill and verify all components are present and undamaged. This section details the complete list of items included in your package.
- One (1) Main Grill Body: The primary unit housing the burners and control knobs.
- Two (2) Cast Iron Grill Grates: For cooking, providing excellent heat retention.
- One (1) Removable Drip Pan: Essential for collecting grease, simplifying cleanup.
- One (1) Leg and Wheel Assembly: Often pre-attached, enabling grill portability.
- One (1) Grill Handle: For convenient lifting and maneuvering.
- One (1) Propane Regulator Assembly: Connects grill to your propane cylinder.
- One (1) Instruction Manual: This vital guide for safe assembly and operation.
Inspect each item thoroughly. If any part is missing or damaged, do not proceed. Contact Coleman customer service immediately for replacement or support before using your grill.
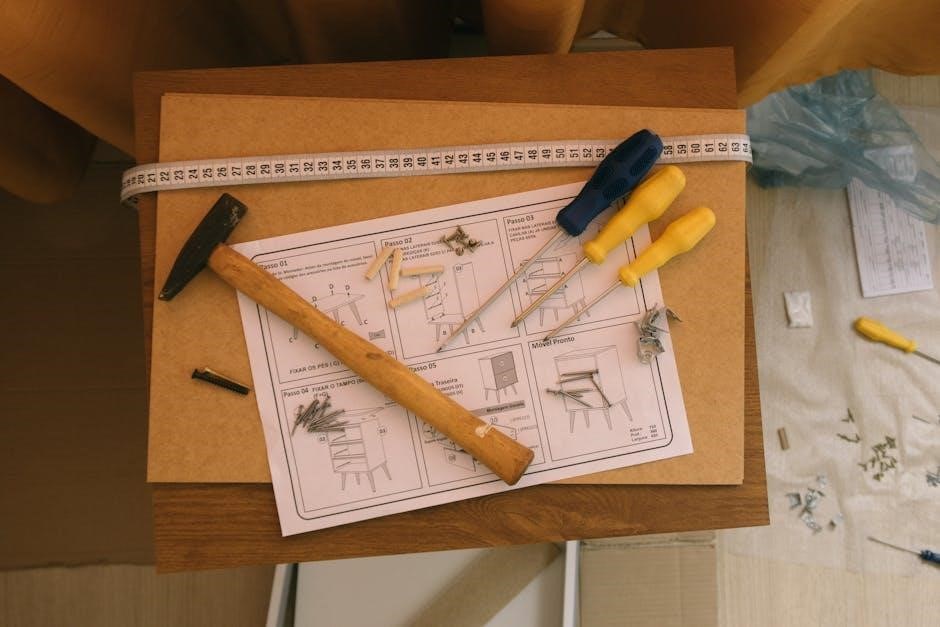
Assembly
This section guides you through the process of setting up your Coleman Roadtrip Grill. Follow these steps carefully to ensure a secure and functional setup before first use. Proper assembly is crucial for safe and enjoyable grilling experiences.
Unpacking Your Grill
Carefully remove the grill from its carton. Cut tape and lift the unit out, or slide contents onto a flat surface. Retain packaging until assembly is complete and parts verified. Crucial for potential returns or exchanges. Inspect the grill body, cooking grates, drip pan, and accessories for shipping damage, such as dents, scratches, or broken plastic. If significant damage is found, do not proceed with assembly. Contact Coleman customer service immediately with your purchase details and a clear description of the issue. Locate the separate bag containing the instruction manual, warranty information, and small hardware items. Set these essential documents and parts aside securely. Once everything is unpacked and inspected, organize the components near your assembly area for a smooth transition to the next installation steps.
Attaching the Legs and Wheels
Begin by carefully placing the grill body upside down on a soft, non-abrasive surface to prevent scratching. Locate the four leg assemblies and the two wheels from the packaging; Each leg typically slides into a designated slot on the underside of the grill frame. Ensure the locking pins or buttons on each leg click securely into place, indicating a firm attachment. Some models may require screws; if so, use the provided hardware and a screwdriver, tightening them until snug but avoiding over-tightening. Next, identify the wheel axle. Insert the axle through the designated holes on the grill frame, typically on one side. Slide a wheel onto each end of the axle, securing them with the provided cotter pins or hubcaps. Verify that both wheels spin freely. Once all legs and wheels are attached, carefully turn the grill upright. Gently rock the grill to confirm it is stable and balanced on all four points before proceeding to the next assembly step. Proper attachment is crucial for safe and easy mobility.
Connecting the Propane Regulator
Before connecting the propane regulator, ensure all burner control knobs on your Coleman Roadtrip Grill are in the “OFF” position. Locate the gas inlet port on the side or front of your grill. This is where the regulator assembly, typically a hose with a large threaded connector, will attach. Take the regulator hose and align its threaded end with the grill’s inlet port. Carefully thread the connector onto the port, turning it clockwise by hand. It is crucial to hand-tighten this connection firmly until it is snug. DO NOT use wrenches or pliers to tighten, as this can damage the threads and lead to gas leaks. Over-tightening can strip the connection, compromising safety and the grill’s functionality. Once hand-tightened, gently tug on the hose to ensure it is securely fastened and does not wobble. A proper connection here is vital for preventing gas leaks and ensuring safe operation when you later connect the propane cylinder. Always double-check the tightness before proceeding to the next step of connecting the propane supply.

Operation
This section guides you through the essential steps for safely operating your Coleman Roadtrip Grill. It covers connecting the propane cylinder, lighting the burners, and general cooking guidelines to ensure a successful and enjoyable grilling experience every time;
Connecting a Propane Cylinder
Properly connecting the propane cylinder to your Coleman Roadtrip Grill ensures safe operation and performance. First, confirm all burner control knobs are in the “OFF” position before beginning the connection process.
For 1-pound disposable cylinders, locate the grill’s regulator. Align its threaded connection with the cylinder’s valve. Screw the regulator clockwise onto the cylinder until securely hand-tight. Do not overtighten, as this damages the valve or seal, causing hazardous gas leaks.
If using an adapter hose for a larger 20-pound tank (sold separately), first connect the hose firmly to the grill’s regulator inlet. Then, securely attach the other hose end to the 20-pound tank’s valve. Verify all connections are tight and stable.
After connection, conduct leak test. Mix equal parts soap and water. Apply solution to all connections. Slowly open the cylinder valve. Bubbles signify a leak. Close valve, retighten, and recheck. If leaks persist, do not use grill; contact service. Never use open flame for leak detection. Follow for safe setup.

Lighting the Burners
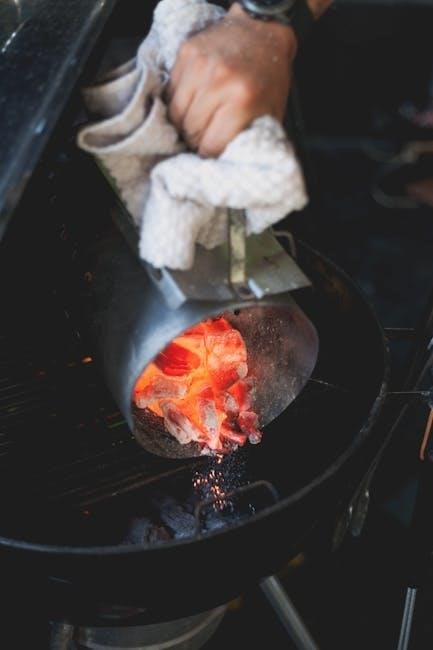
Once your propane cylinder is securely connected and checked for leaks, you are ready to light the burners. Ensure the grill lid is open before attempting to light any burner to prevent gas buildup. This is a critical safety step.
To light a burner, first turn the chosen burner control knob slowly to the “HIGH” position. Immediately after turning the knob, press and hold the electronic igniter button for a few seconds. You should hear a clicking sound and observe a flame ignite at the burner. If the burner does not light within five seconds, turn the control knob back to the “OFF” position, wait five minutes for any gas to dissipate, and then repeat the lighting procedure.
If the electronic igniter fails to light the burner after several attempts, you can manually light the burner. With the lid open, turn the desired burner control knob to “HIGH.” Carefully insert a long match or a long-nosed lighter through the cooking grate to the burner port. Once lit, adjust the flame to your desired cooking temperature using the control knob. Always exercise caution when manually lighting to avoid burns.
Cooking Guidelines
To achieve optimal results with your Coleman Roadtrip Grill, proper cooking techniques are absolutely essential. Always preheat your grill for 5-10 minutes on medium heat with the lid closed before placing food on the grates. This ensures even heat distribution and prevents sticking. Adjust burner control knobs to regulate temperature; higher settings are ideal for searing, while lower settings are perfect for slower cooking or delicate items.
Utilize both direct and indirect heat zones. Direct heat, where food is placed directly over a lit burner, is best for foods requiring quick searing like steaks or burgers. Indirect heat, placing food on a grate away from a lit burner, is suitable for larger cuts, poultry, or items needing longer, gentler cooking to prevent burning. Keep the lid closed as much as possible to maintain consistent temperature and speed up cooking, opening only to flip or check doneness.
Always use a meat thermometer to ensure food reaches safe internal temperatures, preventing foodborne illnesses. Avoid overcrowding the grill, as this significantly lowers the surface temperature and leads to uneven cooking. Proper spacing allows for better air circulation and consistent heat. Remember to clean grates after each use for optimal performance.

Care and Maintenance
Regular cleaning and proper maintenance are vital for extending your grill’s lifespan and ensuring safe operation. Following these guidelines will keep your Coleman Roadtrip Grill performing optimally for many seasons of outdoor cooking enjoyment.
Cleaning the Grill Grates
Properly cleaning your grill grates after each use is essential for hygiene and optimal cooking performance. Always ensure the grill has completely cooled before cleaning. For light residue, a stiff-bristled grill brush is sufficient. Scrape away food particles or charred debris immediately after cooking while grates are still warm but safe. For thorough cleaning, especially after greasy foods, remove grates from the grill. Wash them in warm, soapy water using a sponge or non-abrasive scrubber. Stubborn, baked-on food may require soaking in hot, soapy water for 15-20 minutes, which helps loosen grime effectively. Alternatively, specialized grill grate cleaners designed for non-stick surfaces can be used, following product instructions carefully. Rinse grates thoroughly with clean water to remove all soap residue. After washing, dry grates completely to prevent rust, especially if cast iron. A light coating of cooking oil can be applied to cast iron grates to season them and protect against corrosion. Regular cleaning prevents food from sticking and ensures even heat distribution for future meals, significantly enhancing your grilling experience.
Cleaning the Drip Pan

Maintaining a clean drip pan is crucial for the safe and efficient operation of your Coleman Roadtrip Grill. The drip pan collects grease and food debris during cooking, preventing flare-ups and maintaining a cleaner cooking environment. It is recommended to clean the drip pan after every few uses, or whenever you observe a significant accumulation of grease. Always ensure the grill is completely cool before attempting to remove or clean the drip pan. Locate and carefully slide out the drip pan from its position beneath the burners. Dispose of the collected grease and food particles responsibly; never pour hot grease down a drain. For general cleaning, wash the drip pan in warm, soapy water using a sponge or non-abrasive scrubber. For stubborn, baked-on grease, you may need to soak the pan in hot, soapy water for an extended period, or use a mild degreasing agent. Rinse the drip pan thoroughly with clean water to remove all soap and cleaner residues. Ensure the pan is completely dry before reinserting it into the grill to prevent rust and potential moisture-related issues. Regular cleaning extends the life of your grill and enhances safety.

Troubleshooting and Storage
This section offers solutions for common operational issues and provides detailed guidance on safely storing your grill. Following these instructions will help maintain your Coleman Roadtrip Grill’s performance and extend its lifespan for future enjoyment.
Common Issues and Solutions
Troubleshooting your Coleman Roadtrip Grill often involves straightforward steps. If burners fail to light, verify the propane cylinder is securely connected and has fuel. An improperly seated regulator or a tripped safety valve can also be culprits; disconnect and firmly reconnect the regulator; Inspect the igniter electrode for debris preventing a spark. For uneven heating, check burner tubes for food residue or blockages obstructing gas flow. Regular cleaning of burner ports is key. A low flame typically suggests a partially opened propane valve or a regulator problem; confirm the valve is fully open and the regulator correctly attached. Should you detect a gas smell, immediately turn off the propane supply, disconnect the cylinder, and inspect all connections for leaks before further use. If the grill isn’t heating adequately, ensure burners are correctly positioned and the fuel supply is sufficient. Referring to assembly instructions for proper setup can also aid in diagnosing installation-related issues. Consistent maintenance minimizes troubleshooting requirements significantly.

Storing Your Grill
Properly storing your Coleman Roadtrip Grill ensures its longevity and readiness for your next outdoor adventure. Before storing, always allow the grill to cool completely. Disconnect the propane cylinder and store it separately in an upright position in a well-ventilated area, away from direct sunlight or heat sources, and out of reach of children. Clean the grill grates and drip pan thoroughly to prevent rust and deter pests. Ensure all surfaces are dry before covering. If your model has a battery-powered igniter, consider removing the batteries for extended storage periods to prevent corrosion. Store the grill in a dry, sheltered location, such as a garage, shed, or covered patio, protected from harsh weather elements like rain, snow, and extreme temperatures. Using a Coleman-branded or compatible grill cover is highly recommended to shield it from dust, debris, and moisture. Avoid storing flammable materials near the grill. Periodically check on the stored grill, especially during off-seasons, to ensure it remains in good condition and is free from any pest infestations. Proper storage significantly extends its life.